
We’re excited to introduce Custom Authorizations, a new feature in Tracument designed to simplify how you collect and manage client authorization forms.
With Custom Authorizations, you can now send commonly used Canadian authorization forms directly to your clients for digital completion and signature. Once completed, the form is automatically uploaded to the client’s matter and can be reused for future Full Service record requests, saving you time and reducing manual work.
✨ What This Means for You
Custom Authorizations allow you to:
✅ Send authorization forms digitally to clients
✅ Collect secure electronic signatures
✅ Have completed forms automatically uploaded to the client’s matter
✅ Reuse completed forms when submitting Full Service requests
✅ Reduce manual uploads and administrative work
📄 Available Authorization Forms
The following forms are currently supported in the Custom Authorization workflow:
- CRA AUT-01
- OHIP
- BC PharmaNet
- Alberta Health – Hospitals
- Alberta Health – Statement of Benefits Paid
- Alberta Netcare
More forms may be added in future updates.
⚙️ How It Works
- Open or create a Matter in Tracument.
- Navigate to the Administration tab.
- Select one of the available Custom Authorization forms.
- Click Send for Auto-Signature.
- Your client receives the form by email and completes it digitally.
- Once completed, the form is automatically uploaded to the matter and stored for future use.
When creating a Full Service request, you can simply select the stored authorization form instead of uploading one manually.
🧭 How to Use Custom Authorizations (Step-by-Step)
1. Open or Create a Matter
- Go to the Matters page in Tracument.
- Either:
- Create a new matter, or
-
- Select an existing matter.
- Select an existing matter.
- Navigate to the Administration tab within the matter.
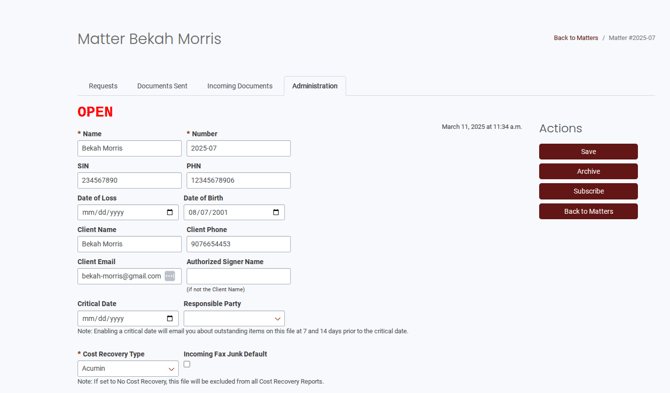
2. Complete Required Client Information
Before sending a form for auto-signature, the following fields must be filled in:
- Client Name
- Client #
- Client Email
- Client Phone
- Date of Birth
- SIN
- PHN
This information ensures the authorization form can be automatically pre-filled for your client.

* Our system shows the required fields if information in the matter is missing.
3. Check the Authorization Form Status
Scroll to the Custom Authorization Forms section.
Each form will show a status:
- On File – The authorization has already been completed and saved.

- Awaiting Signature – The form has been sent to the client and is awaiting completion.
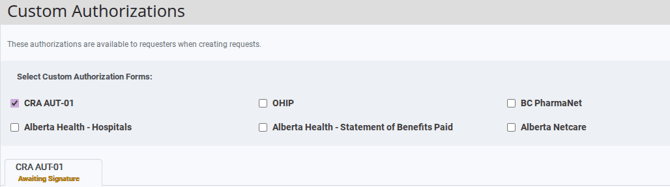
Click on any form to view its details or status.
4. Send or Upload an Authorization Form
There are two ways to add a Custom Authorization to a matter.
Option 1: Upload a Completed Form
If you already have a signed authorization document:
- Upload the completed document directly to the matter.
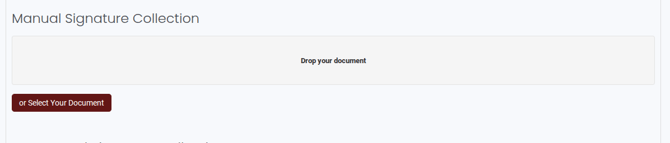
Option 2: Send for Automated Signature
To collect the authorization digitally from your client:
- Select the desired form.
- Click Send for Auto-Signature.
- Fill in any required information for the form.
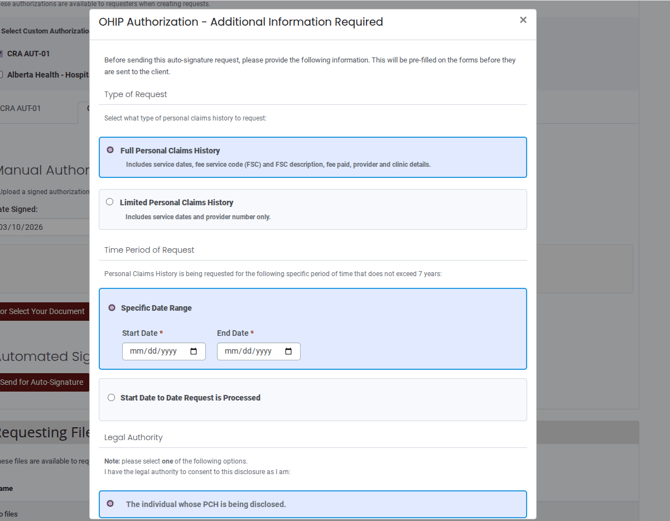
*Above is an example for the OHIP form
4. Confirm the action.Once confirmed:
- The form is sent to the client via email.
- Client information will be automatically pre-filled where available.
- The client reviews, completes, and signs the form digitally.
When the form is completed:
- You will receive an email notification.
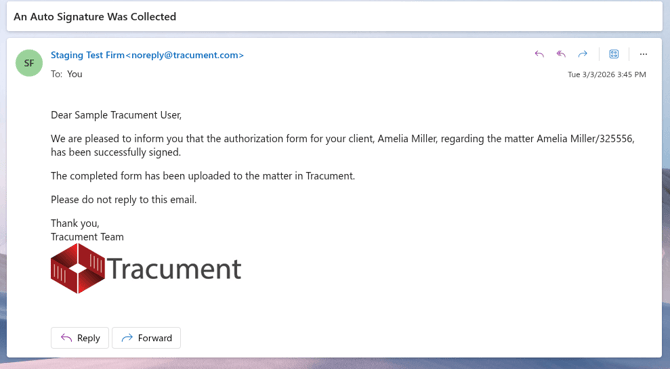
- The form will automatically upload to the matter.
- The status will update to On File.
- You can preview the completed form at any time.
5. Managing Sent Forms
- A Pending form can be cancelled if needed.
- Sending a new form will apply the same price.
- A completed form can also be cancelled, but a new authorization will be charged again.
6. Use the Authorization in a Full Service Request
Once a Custom Authorization is On File, it can be used when creating a Full Service request.
- Start a Full Service Request.
- Enter the record holder organization.
- Specify the records you are requesting.
- Go to the Stored Custom Consents section.
- Select the corresponding authorization form.
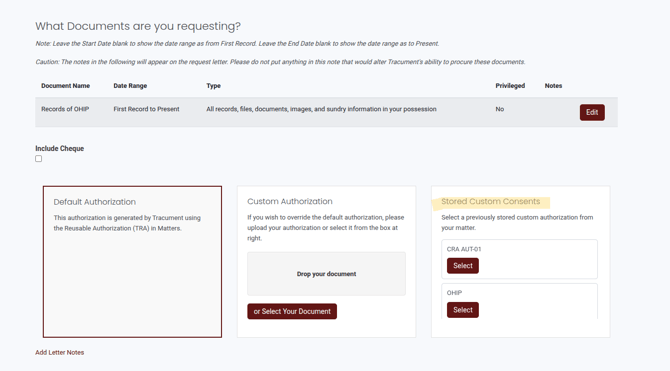
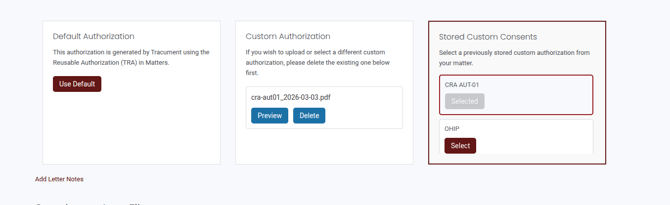
You will then be able to:
- Preview the Request Letter
- Preview the completed authorization
Click Submit to finalize the request.
After approval by Tracument staff, the Full Service request will include the selected Custom Authorization form.
✅ Tip: Once a form is completed and stored in the matter, it can be reused for future record requests, helping you submit requests faster without collecting signatures again.